How to Plan Your Custom Wedding Signs From Vision to Reality
Written by Written By Nikki Calligraphy for Wedding Tips for Brides
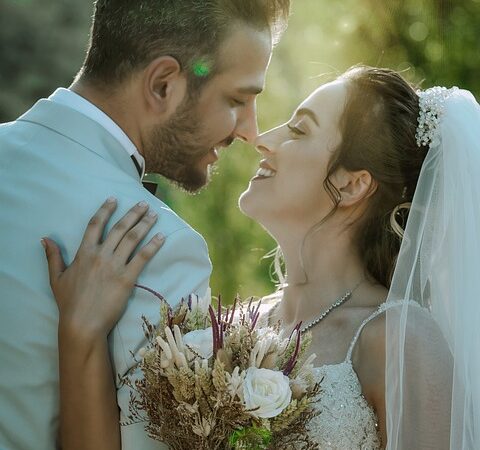
Every detail of your wedding speaks to your unique love story—from the flowers to the venue, from the colors to the calligraphy. But one element that often gets overlooked (yet plays a crucial role) is custom wedding signs. These signs add beauty, functionality, and personality to your big day, tying your theme together while guiding guests and creating memorable photo-worthy moments.
Planning your custom wedding signs may seem overwhelming at first. After all, with so many options to choose from, where do you start? In this blog post, I’ll take you step-by-step through the process of designing and planning custom wedding signs. Whether you’re envisioning rustic wooden signs, modern acrylic pieces, or elegant mirrors, you’ll walk away with everything you need to make your vision a reality.
And if you’re ready to bring your ideas to life, let’s collaborate! Visit Written By Nikki Calligraphy to explore my custom signage services.
Step 1: Envision Your Wedding Theme and Style
Before diving into the specifics of your wedding signs, take a moment to reflect on your wedding’s overall theme and aesthetic. Your custom signs should complement your decor and feel like an intentional part of your design.
Questions to Guide Your Vision:
1. What’s Your Wedding Theme? Is it modern, rustic, boho, vintage, or classic? Your theme will influence the materials, lettering, and overall look of your signs.
2. What’s Your Color Palette? Incorporate your wedding colors into your signs to ensure they blend seamlessly with your decor.
3. What Materials Speak to Your Style? Acrylic, wood, mirrors, chalkboards, and fabric are all popular choices, each with its own vibe.
For example, couples I work with at Written By Nikki Calligraphy often start with a specific material in mind. A couple hosting a romantic garden wedding may choose wood with white calligraphy, while a couple planning a modern celebration might opt for sleek black acrylic with gold lettering. Need inspiration? Browse my portfolio at writtenbynikki.biz.
Step 2: Determine the Purpose of Each Sign
While custom signs are beautiful, they also serve a practical purpose. Consider the areas of your wedding where signs will be most helpful to your guests.
Functional Wedding Signs to Consider:
• Welcome Sign: Greet your guests with a personalized welcome at the entrance.
• Ceremony Signs: Include instructions (e.g., “Pick a seat, not a side”) or create a stunning backdrop.
• Seating Chart: Guide guests to their tables with a beautiful and clear seating chart.
• Bar/Menu Signs: Showcase your signature cocktails or reception menu.
• Directional Signs: Point guests toward the ceremony, restrooms, or parking.
• Guest Book and Gift Table Signs: Add signage to guide guests at these key areas.
• Thank You or Farewell Signs: Send your guests off with a heartfelt message.
Having a clear purpose for each sign ensures your guests feel cared for and keeps the day running smoothly.
Step 3: Decide on Sign Sizes and Placement
The size of your signs is just as important as their design. Signs that are too small may go unnoticed, while oversized signs may look out of place. Think about where your signs will be displayed and how they’ll be viewed.
Tips for Choosing the Right Size:
• Welcome Signs: Typically 18×24 or larger to make a statement.
• Seating Charts: Large enough to fit all names legibly—common sizes include 24×36 or bigger.
• Bar/Menu Signs: Smaller signs (e.g., 8×10 or 11×14) are ideal for tabletops.
• Directional Signs: Go larger for visibility, especially outdoors.
At Written By Nikki Calligraphy, I help couples design signs that are perfectly sized for their space and purpose. If you’re unsure what size you need, feel free to contact me for guidance at writtenbynikki.biz.
Step 4: Incorporate Personal Touches
Your wedding signs are an opportunity to infuse your personality into your big day. Think about ways to make them uniquely yours.
Creative Ideas for Personalization:
1. Include Meaningful Quotes: Use a line from your vows, a favorite song lyric, or a family saying.
2. Showcase Your Love Story: Add details like the date you met, the coordinates of your venue, or your shared hobbies.
3. Honor Loved Ones: Create a memorial sign for family members who are no longer with you.
4. Get Playful: Use lighthearted sayings for areas like the bar or dance floor (e.g., “Trust me, you can dance – Vodka”).
Personal touches make your signs feel one-of-a-kind and give your guests a glimpse into your relationship.
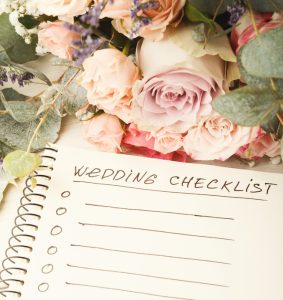
WEDDING PLANNING: 10 CHECKLIST ITEMS FOR THE CLUELESS BRIDE-TO-BE
Step 5: Collaborate with a Professional Calligrapher
Once you’ve nailed down your vision, it’s time to bring in a professional to execute it. Custom wedding signs require precision, artistry, and attention to detail, which is why working with a calligrapher is the best choice.
Why Work with Written By Nikki Calligraphy?
• Personalized Designs: I work closely with you to create signs that align with your theme and vision.
• High-Quality Materials: From acrylic to wood, I use durable materials that photograph beautifully and can be kept as keepsakes.
• Expertise in Calligraphy: Hand-lettering adds an elegant, personal touch that printed signs can’t replicate.
To learn more about my process and see examples of my work, visit writtenbynikki.biz.
Step 6: Plan for Production and Delivery
Custom signs take time to create, so be sure to plan ahead. Most professional calligraphers, including myself, recommend reaching out at least 2-3 months before your wedding date.
Tips for a Smooth Process:
• Communicate Early: Share your theme, colors, and ideas upfront.
• Be Specific: Provide clear details about the sizes, materials, and wording for each sign.
• Factor in Delivery Time: Allow time for shipping or pickup, especially if you’re ordering multiple signs.
At Written By Nikki Calligraphy, I pride myself on delivering beautifully crafted signs on time and stress-free.
Step 7: Display Your Signs with Intention
Finally, think about how your signs will be displayed on the big day. Proper placement and styling can make all the difference in how your signs are perceived.
Display Tips:
• Use Easels: Elegant easels work well for welcome signs, seating charts, and larger pieces.
• Incorporate Decor: Pair your signs with florals, greenery, or candles to enhance their look.
• Ensure Visibility: Place signs in high-traffic areas where guests will see them.
Working with your wedding planner or coordinator can ensure your signs are placed perfectly.
Conclusion: Bring Your Vision to Life
Planning custom wedding signs is an exciting opportunity to add style, functionality, and personality to your celebration. By following these steps—from envisioning your theme to collaborating with a professional calligrapher—you can turn your ideas into reality and create unforgettable details for your big day.
If you’re ready to get started, I’d love to help! At Written By Nikki Calligraphy, I specialize in designing custom wedding signs that are as unique and beautiful as your love story. Visit writtenbynikki.biz to explore my services, view my portfolio, and start planning your dream wedding signage today.
Your wedding deserves the perfect finishing touches, and custom signs are the perfect way to make your day truly yours. Let’s create something beautiful together!